Showing posts with label White. Show all posts

Friday, December 16, 2011

DIY White Washed Wood Floors For Less ~ Being Featured


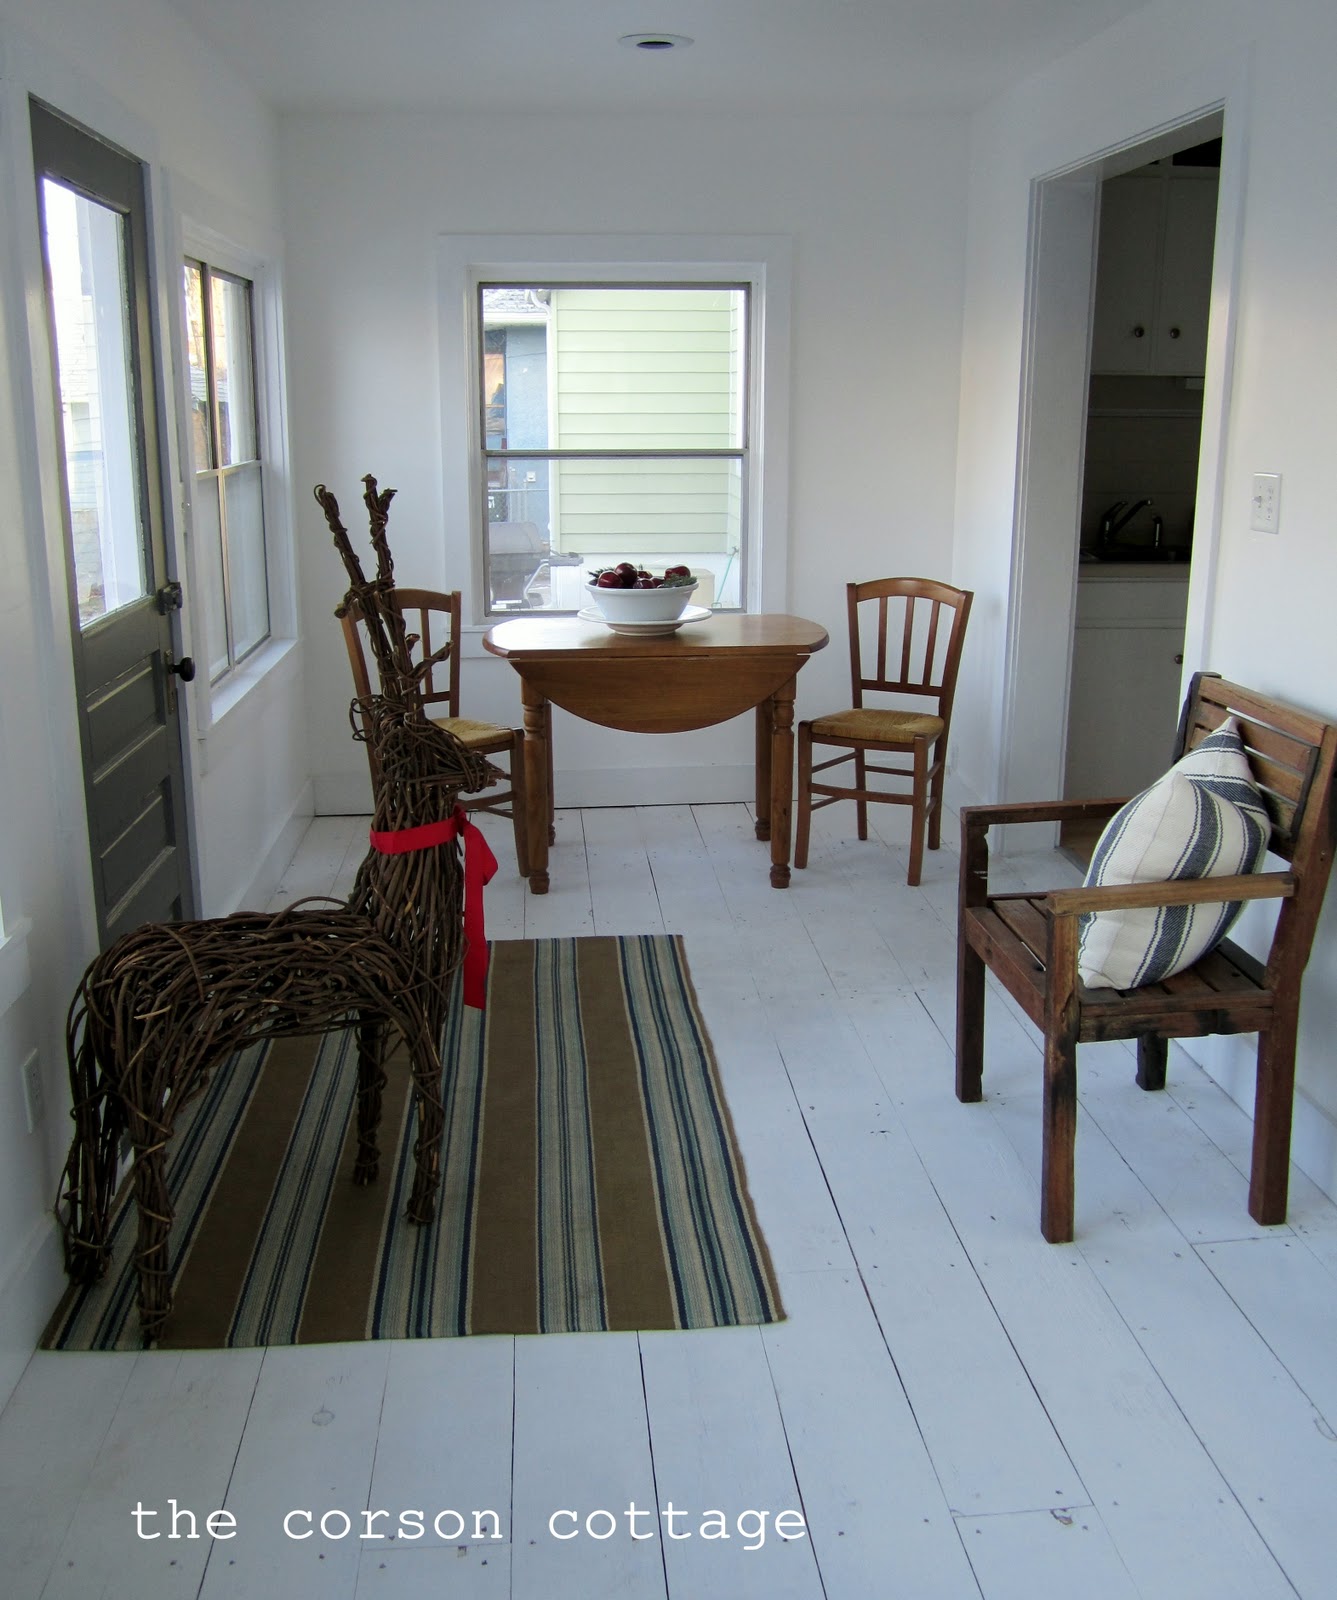
Here is what our back porch looks like today for the holiday season.

A while back I did a post about how to white wash wood floors for less.

Well, Cassity from Remodelaholic has been so kind to feature our
DIY White Washed Wood Floor Project.
Thanks so much Cassity for the feature!
Head on over to Remodelaholic to check it out.

To see our original post go here.

This porch is still one my favorite rooms in our home.
I love the rustic white washed floor.
Nothing says cottage to me like a rustic painted wood floor.

And I just adore the crispness of white...white walls, white trim, white floors.
I think my Dash & Albert striped rug from Dwellings
really warms the space up nicely too.

It is one of my favorite projects we completed in our home.
Also ~ for anyone who is interested it is still holding up great!

Carrie

~ Just a reminder ~

Our {Home for the Holidays} Link Party is Still Going On!
If you haven't linked up be sure to stop by and see the great projects this week.

Monday, August 22, 2011

DIY White Washed Wood Floors For Less


Okay so I promised I would share with you my how to on our porch floors.
So here goes.

DIY Plywood Floors
  1. We started with sheets of CDX plywood.  (The Cheap Stuff.) Tip: If you try this make sure to pick through the lumber pile to pick the best pieces.  Try to get the sheets with less ink writing on them.  If the sheet has a little ink...don't worry no biggie, you can sand it out.
  2. Travis cut each sheet into 6 inch wide pieces. 
  3. Then he laid the first piece against one wall to make sure they were all cut square. 
  4. Then he staggered his cuts to be laid out like a traditional wood floor would be.  You do not want all your seams lined up in a row.  Trust...this is my hubbies pet peeve!
  5. I wanted an aged rustic lived in cottage look, so I wanted the seams between the boards to have a little gap.  About the size of a penny....maybe just a touch bigger in random areas.
  6. We simply nailed the floor right over the original sub floor.  To stay with the aged look I didn't even fill the nail holes.
White Washing a Wood Floor

First.....let me just tell you I'm a first timer! 
It actually wasn't too bad of a project.
  1. Start off with a white satin finish paint.  I have a thing for Behr paint from Home Depot, so that is what we went with on this one.
  2. You need to mix about 2 cups paint to 1/2 cup water.  (Stir it up!  The paint will sit at the bottom.  You will need to continue to stir up the paint as you go as not to let the paint portion over power the mixture.  It will leave the floor uneven and too heavily coated in white paint.
  3. We used a roller to roll on the paint.  Be careful not to leave the floor too wet in one place.  Even it out to avoid streaking.
  4. Our floor took a total of 2 coats.  In some areas we painted and wiped the paint away where it seemed to be just a little heavy.
  5. Do not paint yourself into a corner.......obviously;)
  6. Wait 24 hours before walking on or placing furniture back in the room.
And......we did it all for under $150 bucks!
Viola!!!!  There you have it folks! 
Our budget friendly white washed wood floors!

Let me know if you try this one.  I'd love to hear about it!

Linking up to
Home Stories A to Z
The Shabby Nest

Sunday, August 14, 2011

Back Porch Before and After

Happy Sunday!

Hope you all had a great weekend!


As promised here are our before and afters from our back porch redo.
This room is directly off our kitchen kinda as a bonus room on the back of our house.
Trust me.....you have no idea what a thorn in my side this project was!
Thank god it's over!


before
(well kinda actually somewhere in the middle of the project -
this went on for a bit longer than originally planned)
 

after


This is probably my favorite room in the whole house. 
I think it's becuase it feels the most like me.

I love the white on white and the contrast of the rustic wood.
Warm and cozy, yet minimal and simple.

Check out our DIY White Washed Wood Floors For Less post
to see our tutorial on how we did it!
Keep checking back all week.  We have lots more updates to share.
Also, we will be posting some how to series for some of our projects as well.


(Linking up to Metamorphosis Monday at Between Naps on the Porch, Transformation Thursday at The Shabby Creek Cottage and Today's Creative Blog.)

Carrie


LinkWithin

Related Posts Plugin for WordPress, Blogger...