Showing posts with label tips. Show all posts

Sunday, February 26, 2012

Simply Sunday ~ Mini Green Hydrangea


Welcome to Simply Sunday at The Corson Cottage!
I thought I may never get to this post today....
Better late than never:)

Simply Sunday is a new series where we will be showing our appreciation for the simple things.
It's so important to note the small things in life that just make you happy.
Whether it be some part of nature, a gesture, entertaining family & friends, anything really.
Just take time out to make sure you stop & smell the roses so to speak.
What makes you stop & take a moment to appreciate life?


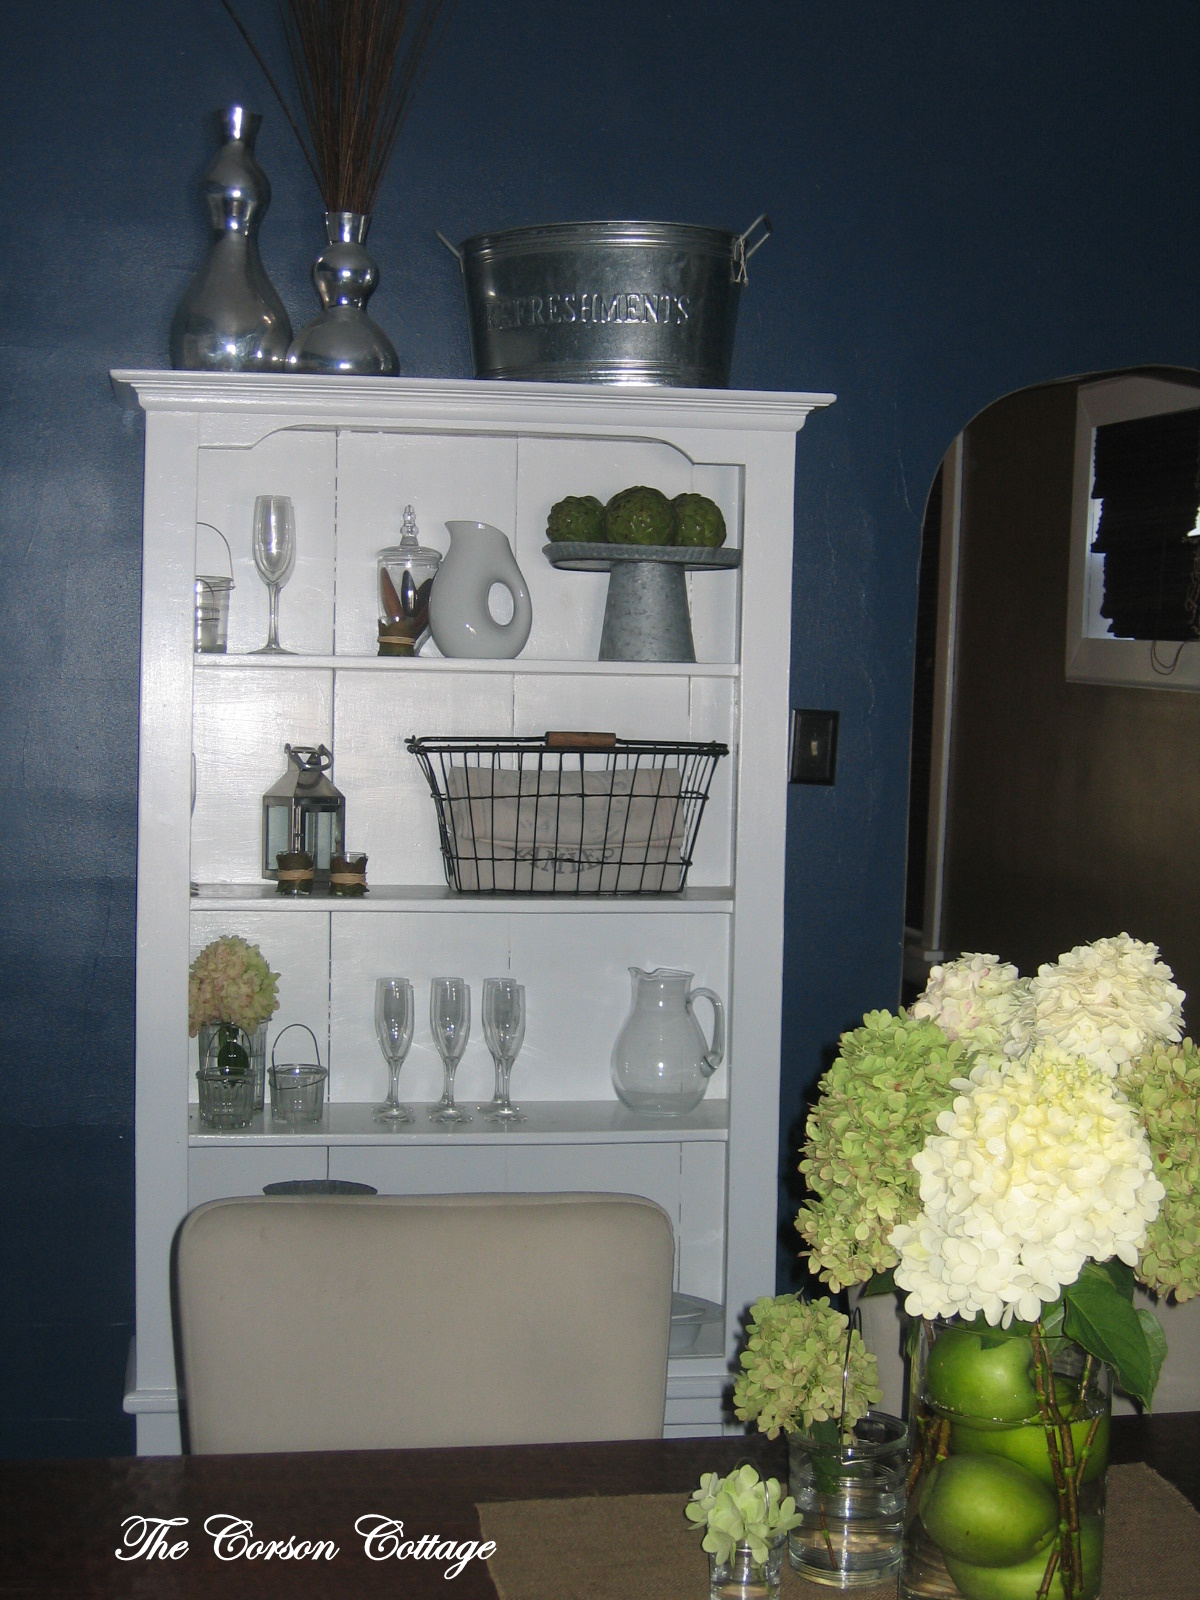
This week my Simply Special item is
 {Mini Green Hydrangeas}


If you follow along on my blog you may already know I have a sweet spot for any Hydrangea.
I just simply love them all!
Such a lovely natural subtle pop of Spring these minis would be the
 perfect addition to a table setting or vignette.


You also really don't have to break the bank to add a little natural touch to your spring decor.
I picked up three small stems for just $10.

{Tip}

Here's a tip.
 If you simply cut your stems to the size of your container, then gently scrape about
an inch from the bottom of the stem almost like you were pealing off the
 outer layer it will help them last longer. 
 Also remember to pull off some of the large green leaves before
placing your Hydrangeas in a container. 
(I like to leave on a few for looks too even though you can't really see them in this container.)
This will help the nutrients and water go directly to the ball of the flower.

Hope you all have had a Simply wonderful Sunday!

Check back this week...it's moving week at The Corson's!!!
We will be doing a Farewell Tour of Our First Home!

Monday, February 20, 2012

Photographing Fresh Flowers ~ Tip


Yesterday, in honor of the first of our new series Simply Sunday,
my post was about the sweet simplicity of fresh tulips.
Simply Sunday is a new series where we will show our appreciation for the simple things in life.
If you missed our first post, I would love for you to check it out here.

Today, I thought it was a great opportunity to share a little photography tip with you all.
Do you photograph fresh flowers?

~Tip~
Well, a great idea is to make sure you have a small spray water bottle handy.
If you just spray a little water on the petals and the leaves
 it will freshen up the look of the flowers instantly. 

Can you see the beads of water on the petals and stems above?
What do you think, does it add to the photo?
I definitely think so.

~Another Tip~
If you are having your wedding photographed it is a great idea to have someone
spray your floral bouquets with a few drops of water just before the ceremony.
It will freshen up the bouquets before the big shots.
Follow the same strategy for the reception or any event using floral decor.
Have someone go through and freshen up your center pieces before they are photographed.

Be careful not to go crazy!!!
For goodness sakes you do not want to have a sopping wet bouquet.
Just a little spritz will do ya:)

Hope you all have a great week.

Carrie


Monday, November 7, 2011

Pillow Talk Tuesdays - New Series

You all know how I have been on the hunt for modern touches for my decor.

What easier way to update a space and add a {Pop of Modern} than pillows???

I thought I would start a new series to compliment my hunt
for the perfect casual modern pillows to update our home.

{Pillow Talk Tuesdays}


source

This is one of my favorite combinations.
I love the bold geometric shapes with pops of color.
And who doesn't love the Hot House Flowers fabric from Schumacher?

source

I also think it is important when forming a group of pillows to make sure that you mix the
sizes and shapes up a bit.  Adding at least one lumbar size pillow is a perfect touch.
Just as they did here with the Imperial Trellis fabric lumbar pillow.

source

Mixing either a solid pillow or small print then complimenting
 with large more graphic pattern is a great idea too.
I'm really loving nearly anything Ikat right now.


What do you look for in a pillow?
What is your fav fab fabric right now?
Where do you pillow shop?
Are you interested in featuring your modern pillows here?
Please do tell...
I'd love to hear your thoughts:)

Carrie

Also - I will be announcing the winner of the {Dream Pillow} Giveaway tomorrow.
Sorry for the delay!
 linking up to


Wednesday, November 2, 2011

Canvas Painters Cloth Event Draperies

Here is a quick and easy solution to adding draperies to an event or party decor.
Why not try a canvas painters cloth?


Often times in a large space you need to help ground the area or soften the look.
A great solution is painters cloth. 
It also helps add antoher textural element to this outdoor event.
You can usually pick them up at your local hardware store for between $12-$20 bucks.


We actually have four here.
As you can see we created pleats at the top to help finish the look.
To hang the cloth simply use a staple gun and staple the pleats as you go.
Another tip...don't worry to much about the wrinkles.
Once you hang them and they have hung for a few hours the wrinkles will mostly come out.
If wrinkles persist I would suggest using a steamer, much quicker than ironing.


We didn't even bother sewing the cloths together.
We used simple jute to tie the drapes back.
It created a simple casual look and didn't break the bank.
It is also an easy fabric to dress up or down.
To see more of our {Witches Walk} event click here.

Sunday, September 25, 2011

Bathroom Before & After

So this week I thought I would get back to our updates.
I have a few more areas of our house that I haven't had a chance to share yet.

So here goes.

Here is our bathroom redo.
I mentioned this bathroom way back when...you can see it here.

before
I wish our before shot showed the colors that were originally here.
A yellowish beige with a green trim.  It really wasn't good.
Unfortunately when we first moved in I didn't have the blog yet.
The old mirror was greenish with a brushed gold,
very ornate (and plastic) and NOT in a old and charming way.
after
So this bathroom had your typical 80s bad oak bathroom vanity as you can see.
Ughh....and gold nobs too double ughhh....
So I went for a fairly frugal approach.
New paint for the walls - Behr Granite Grey -$25
 (one of my favorite colors in the entire house to this day:)
2 Coats of Primer to the vanity
2 Coats of a Behr White paint - $0 (I had it left over from painting our trim work.)
New Light Fixture $89 Lowes.
New nobs for the vanity $16 Lowes.
The mirror was a wedding gift from Dwellings.
 We also updated the tub surround,
which I did't photo - it's a basic white fiberglass $100 Lowes.
Towel bars $30 Lowes.
And added a new shower curtain Target - $10
Total bathroom redo $270.


What do you think? 
Definitely presentable to our guests.

Does anyone have an opinion about mixing hardware?

I go back and forth with this.
I hate when things are too matchy matchy.
I love the cottage look of mixing it up a little.
I tried it here as you can see without getting too crazy mixing the different finishes.
Tips:
Throughout our house the light switch covers and plug in covers are all the brushed bronze.
I think that is part of the key for me, keep it consistant.
I pulled in the brushed bronze with the light fixture as well.
Then added pops of nickel in the vanity knobs which left me able to
save the faucet instead of changing it out and saving $ while keeping the vanity consistant again
and lastly adding the nickel towel bars pulls the two finishes onto the walls.


I'd love to hear your thoughts on mixing hardware finishes.
I'm contemplating these options in our next house
(even though we are not even started yet) too and I really want
to make sure I pull it off right throughout the house. 
Especially the bath and kitchens.

Linking up to:
Between Naps on the Porch
Southern Hospitality
The Shabby Creek Cottage
Perfectly Imperfect
Miss Mustard Seed
The Shabby Nest
French Country Cottage
Funky Junk Interiors
House of Hepworths
The DIY Show Off


Roomspiration

Monday, August 29, 2011

Home Staging Tips

I thought I would share my top ten home staging tips with you today.


our kitchen and dining room
So far we have received some very positive feedback from potential buyers and realtors both.
I'll let you know just as soon as we get that special someone who makes it happen for us!

Here are a few of the things we did and some other ideas to help prepare our home for the resale market.
&
Here is an example of how we decluttered our dining room to prep for resell.


before


after


after
1. Curb Appeal 
 Add a welcoming touch from the street. 
One easy inexpensive way to do this is by adding exterior shutters to your home.  If you already have them maybe give them a fresh coat of paint.  Add a pop of color to an old worn out door. 
Add some landscaping.

2. Declutter!
3. Declutter!
4. Declutter! 
Are you getting the hint???

5. Remove Furniture Without Purpose
Remove any unnessary or unused furniture and rearrange existing furniture into spaces that make a room usable to potential buyers.  Don't be afraid to use a chair you purchased for your living room in an open space in another part of your home.  If you aren't using it perhaps you can put it in storage temporarily.
(My Mom was so gracious as to let us store some items in her basement.)

6. Depersonalize
Remove any and all overloaded decor.  Keep it simple.
Do not use gender specific decor (loose the doilies and really flowery items.)
If you do not plan on using something for 6 months, Pack it Up!
You will be one step closer to moving day:)
Remove personal photos of family and friends.
Leave wall hangings to a minimum (choose your focal spots to accentuate.)

7. Fresh Paint
Add a fresh coat of paint to a dark room. 
Add fresh paint to chipped trim and door jams.
Stick to neutral colors where possible.

8. Don't forget the closets!
Closet space is important to potential buyers.
Don't forget to clean your closets of clutter and unnessary items.
Box items up neatly.  Keep closets easy to access.  If it's a walk in - you need to be able to walk in it!
Try using storage baskets in closets to hide all personal items you need to keep around but don't really want open house goers to see.

9. Lighting
Make sure each room had adequate lighting.
Open up the blinds and let the sunshine in on open house day!
Turn on lights for showings.

10. Don't forget flooring.
Clean any and all flooring stains.  Have carpets professionally cleaned.
Where possible replace flooring where budget allows.
Refinish hardwoods with a little sweat equity.

I hope these handy tips help!
Let us know if you need any help coming up with ways to prepare your home for resale.
I'm all ears!  I'd love to give you a few hints! 

Carrie

http://
Roomspiration

LinkWithin

Related Posts Plugin for WordPress, Blogger...